
Sea Shell Coloring Pages: Beach Art and Science Ideas
Sea shell coloring pages give children a calm, beautiful subject to color, and they open easy lessons on shapes, patterns and beach colors. This guide covers how to use them at school or at home, with shading tips, sorting ideas and beach and nature sets for a larger unit.
Why sea shell coloring pages work well
Shells have clear shapes with a lot of built-in detail. A fan shell has ridges that spread out from one point. A spiral shell has a curve that winds around and around. Children can follow those lines with a pencil, and the lines show them where to change color.
The colors are gentle too. Cream, pink, tan, soft gray and pale blue all look natural on a shell, so almost any choice looks good. That makes the pages friendly for a child who worries about getting a color wrong.
Seashell coloring pages can work as:
- A quiet activity after a busy lesson.
- Practice with shapes, curves and patterns.
- A summer or beach theme activity.
- A companion to a real shell collection on the table.
Know your shell shapes
Before coloring, look at a few real shells or pictures and name the shapes. Children do not need technical names, only good describing words.
- Fan shape: wide, with ridges that spread out like the ribs of a paper fan.
- Spiral shape: a cone that winds around in a curve.
- Round shape: flat and rounded, with lines that circle around the center.
- Long shape: narrow and smooth, like a thin tube.
Ask children to find each shape on their coloring page and describe it in a sentence. A child who says “this one is a fan shape with ridges” is practicing both vocabulary and careful looking.
Sand and ocean colors
A beach scene has a clear palette that is easy to teach. Sand colors include tan, beige, light brown and cream. Ocean colors include blue, teal, green and pale gray-blue.
Try these color tasks with a shell page or a beach scene:
- Two-palette page. Color the shells in sand colors and the background in ocean colors.
- Light to dark. Press lightly near the edge of each ridge and harder in the grooves between ridges to show depth.
- Color mixing. Layer blue over yellow for a sea green, or brown over orange for a warm sand.
Crayon resist
This technique looks like waves and takes little supply. Children color the shells with a white or light crayon, pressing hard. Then they paint over the whole page with watery blue paint. The wax pushes the paint away, so the shell shapes show up through the blue.
Use watercolors on thicker paper, and let the page dry flat.
Patterns and symmetry in shells
Fan shells are a natural way to introduce symmetry. If you fold a fan shell page down the middle, the left side matches the right side.
Try these small pattern tasks:
- Color the ridges in a repeating pattern, such as light, dark, light, dark.
- Color the left side of a shell, then ask a partner to color the right side to match.
- Count the ridges. If a fan shell has 9 ridges and a child colors every other one dark, starting with the first, how many are dark? Five: ridges 1, 3, 5, 7 and 9.
These tasks make children slow down and look closely.
Sorting and counting with shell pages
Finished pages are easy to sort. Lay out a pile and ask children to group them by shape: fan, spiral, round and long.
A quick math task: a class sorts 12 shell pictures. Five are spiral shapes and the rest are fan shapes. How many are fan shapes? Seven, since 12 minus 5 is 7.
You can also make a simple bar graph on the board with one column per shape. Children place their pages in the right column and count each one.
Fine motor skills with shell details
Shell pages have small curved lines and ridges, so they offer good practice for the hand control that writing needs. Coloring inside a narrow ridge takes a light grip and slow movement. Younger children can stay with big shapes and bold lines. Older children can aim for each small section.
For more activities that build hand strength and control, see our guide to fine motor activities.
Beach and nature sets for a bigger unit
Shell pages fit well into a beach week, a summer program or a nature unit. These sets add scenery and variety.
- The Beach Coloring Pages set has 26 sheets featuring tropical beaches, palm trees, ocean waves and beach umbrellas for elementary kids.
- The Spring Break Coloring Pages pack has 27 printable pages featuring sunny beaches, suitcases, road trips and outdoor play.
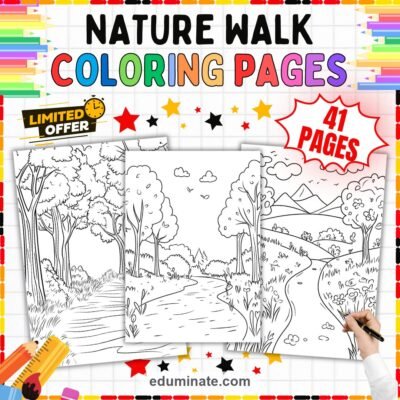
- The Nature Walk Coloring Pages pack has 41 printable pages for park exploration, trail hikes and seasonal science units.
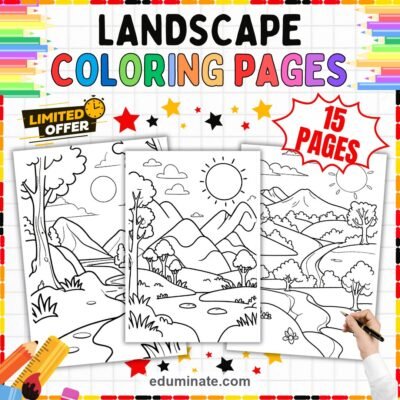
- The Landscapes Coloring Pages set has 15 pages featuring winding forest rivers, sunny mountain valleys and country trails.
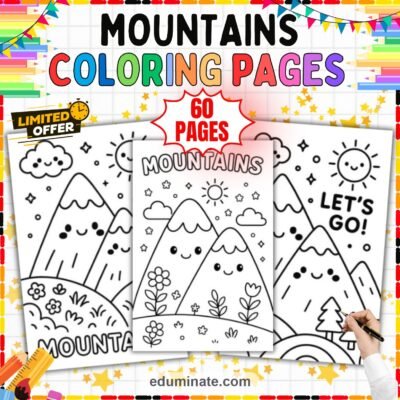
- The Mountains Coloring Pages set has 60 activity sheets featuring alpine peaks, pine trees and wildflowers for primary learners.
The Nature Coloring Pages Bundle puts ten coloring packs in one download, covering mountains, landscapes, camping, mushrooms and nature walks, in 345 pages.
A beach-themed art station
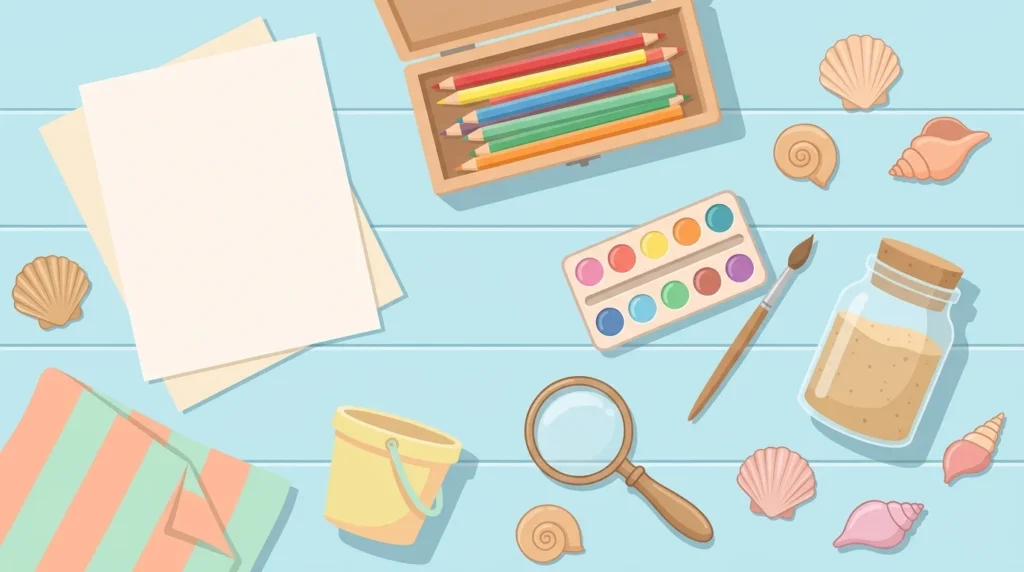
If you want to build a full station around the pages, gather a few simple supplies:
- Printed shell and beach pages.
- Colored pencils, crayons and a small watercolor set.
- A tray of real shells for children to look at and hold.
- Small cards with describing words, such as smooth, rough, curved and ridged.
- A magnifying glass for a closer look at the lines.
Children can color a page, choose two describing words and write a short sentence about their favorite shell.
Writing and talking about shells
A finished shell page makes a good starting point for language work. Shells are easy to describe, and children enjoy picking their words.
- Describing words. Offer a word list such as smooth, rough, curved, pointed, ridged and shiny. Ask children to pick two for their shell.
- Sentence frame. Write “My shell is …” on the board and let each child finish it.
- Compare two shells. Place two pages next to each other and ask for one way they are alike and one way they differ.
- Shell collection page. Give older children a blank page and ask them to write a short paragraph about a collection of shells, using their colored pages as a guide.
Even a short caption below the picture counts as writing practice. A label such as “fan shell” is a good start for a younger child.
Shell pages for a beach week
A beach week gives you a ready theme for many subjects, and coloring pages can hold the pieces together.
- Reading: read a picture book about the beach and color a shell that matches the cover.
- Math: sort shell pages by shape and make a bar graph.
- Science: talk about what sand looks like up close and why it comes in different colors.
- Art: make a crayon resist wave behind a shell.
- Writing: write a short description of the beach using sand and ocean colors.
You do not need to cover all five. Pick the two or three that suit your class and keep the others for another day.
A nature walk with shell and scenery pages
Shell pages also work for a nature walk, whether the walk is at a beach, a park or around the school grounds. Before the walk, color a page and talk about the shapes and colors you hope to find. After the walk, ask children to color a second page that matches something they noticed.
This pairing makes a nice before and after comparison. Children see how their expectations matched what they found, and they have a reason to look closely at real shapes and colors.
Shading shell ridges step by step
Shell ridges are one of the best places to practice shading. This method works for a fan shell and needs only a few colored pencils.
- Choose one main color, such as a soft pink, and a darker version of it, such as a deeper rose.
- Color every ridge lightly with the main color.
- Press harder with the darker color in the narrow grooves between the ridges.
- Add a small patch of cream near the base, where the ridges meet.
- Leave a tiny gap of white paper on the highest ridge to look like a shine.
The grooves are small, so a sharp pencil matters. Keep a sharpener at the table and ask children to check their tip before they start on the details.
Making a shell collection poster
A poster brings several pages together into one display and gives children a reason to compare shapes.
- Choose four or six shell pages with different shapes.
- Ask each child to color one page and cut it out.
- Glue the cutouts on a large sheet of blue or tan paper.
- Write a label under each shell, such as fan shape, spiral shape or long shape.
- Add a title across the top and hang the poster at child height.
Children can also add small paper waves and a strip of sand along the bottom. When the poster is finished, take a minute to look at it together and ask which shell looks the most different from the others and why.
Using shells to talk about size
Shells come in many sizes, so they are handy for comparing and ordering. Ask children to look at three shell pages and put them in order from smallest to largest. Then ask them to use the words small, medium and large to describe each one.
Older children can measure the width of each shell on the page with a ruler and write the number of centimeters beside it. They can then say which shell is longest and how many centimeters longer it is than the shortest one.
Tips for different ages
Preschool and kindergarten
Choose a page with one large shell and thick lines. Let children focus on one or two colors and naming the shape.
First to third grade
Add labels, a simple pattern on the ridges and a sentence. Ask children to try the crayon resist technique.
Fourth grade and up
Try shading with colored pencils, a sandy background and a short paragraph that compares two shell shapes.
Frequently asked questions
What colors should I use for a shell?
Cream, pink, tan, gray and pale blue look natural. Children can also invent bright colors for a creative page.
Do I need real shells?
No. The pages work on their own. A few real shells are a nice extra if you have them.
Are shell pages good for older children?
Yes. Older children can shade ridges, add a sandy background and label shell shapes.
What is the best tool for the ridges?
Sharpened colored pencils give the most control for narrow ridges. Crayons work well for large shapes.