
Tree Coloring Page Ideas for Science and Art Class
A tree coloring page gives children a big, simple subject to color, and it fits easily into a science lesson on plants. This guide covers the parts of a tree, leaf shapes, shading tips and a few art ideas, plus plant sets that help you build a full unit.
Why use a tree coloring page
A tree has a shape every child knows: a tall trunk, branches that spread out and a crown of leaves on top. That makes it a good first subject for beginners, and a rich one for older children who want to add bark texture and shading.
Tree pages can serve several purposes in one lesson:
- A calm, focused task after a busy part of the day.
- Practice with greens and browns, which have many shades.
- A way to label and review plant vocabulary.
- A simple craft base, since a finished tree can be cut out or mounted on a poster.
The parts of a tree
Name the parts before children begin to color. If you can take the class outside, point to a real tree. If not, a photo or the printed page works.
- Roots: grow under the ground, take in water and hold the tree in place.
- Trunk: the thick main stem. It holds the tree up and carries water from the roots to the leaves.
- Bark: the rough outer covering of the trunk and branches.
- Branches: the arms that spread out from the trunk.
- Leaves: make food for the tree using sunlight. Our guide to photosynthesis for kids explains how.
After the talk, ask children to color each part and say its name. A child who colors the trunk brown and says “trunk” is connecting the word to the shape. Roots are often missing from a simple page, so children can draw a few under the ground line with a brown pencil.
Tree coloring pages and leaf shapes
Leaves come in many shapes, and a tree page is a good moment to notice them. Some leaves are wide and round, some are long and thin, and some have pointed edges or deep cuts.
Here is a simple leaf activity:
- Collect two or three different leaves from outside, or use pictures.
- Ask children to describe each one with a word, such as long, round, smooth or pointed.
- Have them color leaves on the tree page to match one of the real leaves.
- Add a vein line down the middle of each leaf with a darker green.
You can also place a leaf under a thin sheet of paper and rub the side of a crayon over it. The leaf shape and its veins appear on the paper, and children can cut the print out and glue it onto their tree.
Evergreen and deciduous trees
Trees can be sorted into two common groups, and coloring pages can show the difference clearly.
Evergreen trees
Evergreen trees keep their leaves, which are often thin needles, all year. They stay green in every season. Ask children to color an evergreen with several shades of green.
Deciduous trees
Deciduous trees lose their leaves in the autumn and grow new ones later. Give children two copies of the same tree page. On the first, they color a green summer tree. On the second, they color the leaves yellow, orange and brown, and leave a few branches bare.
Put the two pages side by side and ask what has changed and what has stayed the same. The trunk is still brown, and the shape of the branches is the same.
Shading and texture ideas
Trees are a good subject for shading, because the trunk and the leaves both have natural light and dark areas. Colored pencils give the most control for this.
- Bark lines. Draw short vertical lines in dark brown on the trunk, then fill between them with a lighter brown.
- Light side and dark side. Choose which side the light comes from. Press lightly on that side and harder on the other side of the trunk.
- Leaf layers. Color the crown first in a light green, then add dark green patches near the bottom for shadow.
- Ground. Add a patch of grass or soil under the tree so it does not float on the page.
Shading takes patience, so offer it as a choice. A younger child can fill the shapes in one flat color and still do a fine job.
Tree rings and how trees grow
Tree rings make a good extension for older children. When a tree is cut across, the inside shows circles inside circles. Each ring marks one year of growth, so a tree with ten rings grew for ten years.
Here is a short activity:
- Draw a small circle in the center of a blank sheet.
- Draw a second circle around it, then a third, and keep going until there are seven circles in all.
- Color the rings in alternating light and dark brown.
- Ask: how many years of growth does this tree slice show? The answer is 7.
Children can then make their own slice with a different number of rings and trade with a partner to count.
Plant coloring sets for a full unit
A tree is one part of a larger plant unit. If you want more pages on leaves, roots and how plants grow, these sets can help.
- The Parts of a Plant Coloring Pages set has 40 printable pages with labeled diagrams covering roots, stems and flowers.
- The Plant Coloring Pages Botany set has 50 printable pages with seed sprouting, garden plants, leaves and life cycle fun.
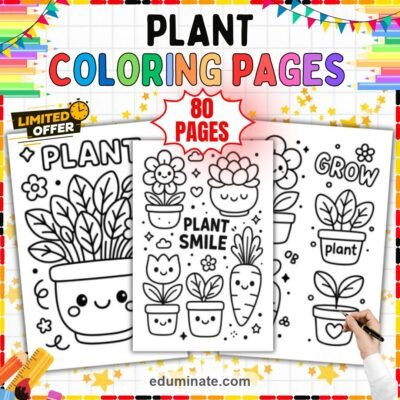
- The Plant Coloring Pages set of 80 sheets features potted plants, succulents, garden flowers and seedlings for primary science and art lessons.
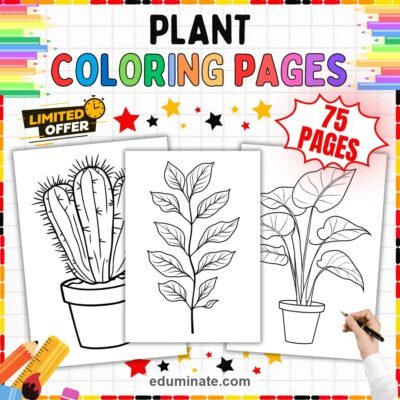
- The Botanical Plant Coloring Pages set has 75 sheets with detailed cacti, tropical houseplants and realistic leaf vein patterns.
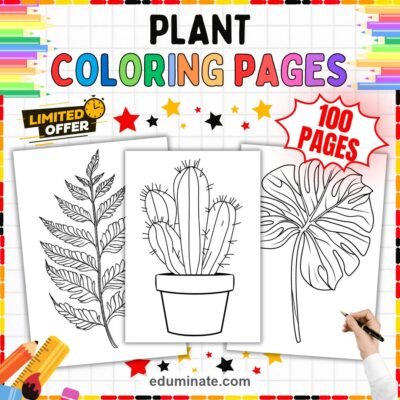
- The Plant Coloring Sheets set of 100 features fern fronds, tropical palm leaves and potted cacti for elementary science and art.
The Plant Coloring Pages Printable Bundle brings six coloring packs into one download, covering potted plants, foliage, plant parts and life cycles, in 385 pages. It is a convenient choice when you want a whole plant unit in one place.
Display ideas
- Class forest. Cut out finished trees and mount them along a wall or hallway.
- Four seasons board. Make four copies of one tree and color each for a different season.
- Labeled poster. Add arrows and labels for the roots, trunk, branches and leaves.
- Leaf word bank. Surround a tree with describing words for leaves.
Writing and talking about trees
Once children have colored a tree, the page gives them something to describe. A few small tasks turn coloring time into language practice.
- Label the tree. Draw lines to the roots, trunk, branches and leaves and write each word. Younger children can copy from the board.
- Describing words. Ask for three words about the tree, such as tall, green and shady. Write them around the picture.
- Sentence frame. Write “A tree needs …” on the board and let children finish it. Answers might be water, sunlight and soil.
- Compare two trees. Give each pair of partners two tree pages with different shapes. Ask them to say one way the trees are alike and one way they differ.
- Short paragraph. Older children can write four sentences about a tree they know, using the words trunk, branches and leaves.
Math with tree pages
Trees give plenty of things to count. Here are tasks with the answers worked out so you can check them quickly.
- Count leaves. A branch has 6 leaves on the left and 5 on the right. How many leaves in all? Eleven.
- Take away. A tree has 10 leaves. Four are colored yellow. How many are still green? Six.
- Pairs. A page shows 3 trees. If each tree has 2 main branches drawn, how many branches are there? Six.
- Measure. Use a ruler to measure the trunk on the page. Ask children to write the length and compare it with a partner’s page.
A tree station for science time
A small station lets children explore trees on their own.
- Tree pages in two or three sizes.
- Brown and green crayons and colored pencils.
- A few real leaves, a pinecone or a piece of bark, if you can collect them.
- A magnifying glass for a closer look at veins and bark lines.
- Cards with the words roots, trunk, branches and leaves.
Children match each word card to the right part, color the page and then use the magnifying glass to find one detail that they can add to their tree.
Mixed media ideas for tree pages
A tree page does not have to stay a pencil-only project. Here are a few ways to change the look with simple supplies.
- Torn paper leaves. Tear small pieces of green, yellow and orange paper and glue them onto the crown of the tree.
- Bark rubbing. Hold a thin sheet over a piece of bark or a rough board and rub the side of a brown crayon across it. Cut the print into a trunk.
- Watercolor wash. Color the trunk with crayon, then paint a pale blue wash across the sky behind it.
- Eraser stamps. Use the end of a pencil eraser dipped in paint to stamp leaves onto the branches.
- Cut and layer. Color two copies of the same tree, cut out the crown of one and glue it slightly raised over the other for depth.
Offer a choice of two methods and let children decide. A child who picks the technique will work with more care.
Choosing colors for each season
A deciduous tree looks different through the year, so the same page can be colored more than once. Here is a simple guide for a four-page set.
- Spring: light green leaves and a few small pink or white blossoms.
- Summer: full, dark green leaves on every branch.
- Autumn: yellow, orange and brown leaves, with a few leaves on the ground.
- Winter: bare branches, with a pale gray or blue sky.
Mount the four pages in a row. Children can then describe what changes from one season to the next and what stays the same.
Tips for different ages
Preschool and kindergarten
Choose a page with one large tree and thick lines. Focus on naming the trunk and the leaves, and keep the colors simple.
First to third grade
Add labels, leaf shapes and a short sentence. Ask children to try two shades of green on the crown.
Fourth grade and up
Try shading with colored pencils, tree rings and a written comparison of evergreen and deciduous trees. Older children can also design a poster that shows how a tree changes through the year.
Frequently asked questions
What colors should I use for a tree?
Brown for the trunk and branches, and green for the leaves. For variety, add a lighter and a darker green, or use yellow, orange and red for a deciduous tree in the autumn.
Can a tree page be used for science?
Yes. Label the parts, compare leaf shapes or draw a ring pattern to talk about how trees grow. Pair the page with real leaves if you can.
Which tools work best?
Crayons suit younger children. Colored pencils are better for shading bark and leaves. Markers give strong color but may show through thin paper.
How do I keep trees from looking flat?
Use two or three shades of green and brown on the same part, with darker shades near the bottom and on one side.