
Spring Bulletin Board Ideas for Teachers and Classrooms
Spring bulletin board ideas work best when the students make the display themselves, one flower, leaf or raindrop at a time. This guide gives you layouts to build, a plan for getting a board up, and printable pages that turn into the pieces.
Why a student-made spring board works
A board that is bought and stapled up looks fine for a week. A board that is made by the class gets noticed all season, because every student can point to their own piece.
Coloring pages make this easy. Each student colors a flower, cuts it out and adds it to the display. The board fills up with different color choices, and you do not need to draw anything yourself.
A few reasons the approach suits a busy classroom:
- The pieces are made during normal activity time, so the board does not eat into your prep.
- Every student adds something, which makes the board feel like the class’s own.
- You can grow the board over weeks instead of finishing it in one evening.
- Pieces that fall off are simple to replace with a new page.
Before you build: plan the board
Measure the space
Measure the board in inches before you cut anything. Then decide how many pieces fit. A board with a few large flowers reads very differently from a board with dozens of small ones.
Pick a background
A light background paper, such as pale blue, soft green or cream, lets bright flowers stand out. Cover the board edge to edge so staples and old holes do not show.
Choose a border
A bulletin board border frames the display and hides the rough edges of the paper. Scalloped border paper or a strip of green paper cut like grass both suit a spring theme.
Write the title in big letters
Cut large letters from construction paper. Keep the title short so it fits across the top in one line.
Spring bulletin board ideas you can build
These layouts use only objects and words: flowers, leaves, clouds, rain and garden tools. Pick the one that fits your space and your lesson.
A flower garden of student work
This is the simplest layout. Cover the board in pale blue paper. Cut a strip of green paper along the bottom for the ground. Each student colors a flower page, cuts out the bloom, and attaches it to a green paper stem with two leaves. Staple the stems along the ground so the flowers stand up in a row.
Title idea: “Our Class Garden Is Growing.”
A reading garden
Use the same garden layout, but add a book title to each flower. After a student finishes a book, they write its title on a paper leaf and add it to the stem. Over a few weeks the garden fills with titles. The board shows what the class has read without a single chart.
A goal garden
Each student writes one goal on a paper flower, such as “Read every night” or “Learn my 6 times tables.” The flowers go on the board in the garden. When a goal is reached, the student adds a green leaf to the stem. This pairs well with a talk about how plants need time and care to grow.
A spring weather board
Draw a large cloud shape, a few raindrops and a rain boot cut from colored paper. Add a row of pockets or labeled cards for sunny, cloudy, rainy and windy days. A daily helper moves a marker to match the weather. At the end of the month the class can count each kind of day.
A parts of a flower board
Mount one large flower with a clear stem, leaves and roots. Label the petals, stem, leaves and roots with paper strips. Students can add sticky notes with facts they learn, such as “Roots take in water.” This board earns its space in a plant unit.
A word garden
Give each flower a center with a word on it, such as a spelling word or a vocabulary word. Students write a sentence on a paper petal using the word. The board becomes a display of words in use.
A kindness garden
Students write a kind word or a thank-you note on a paper flower and add it to the board. Kind notes from the class fill the garden. Keep the notes about actions, such as sharing a pencil or helping with a project.
Printable pages that make the pieces
Printed coloring pages give you flowers, garden pots and spring scenes that are ready to color and cut. Here are some sets that work for display pieces.
- The Spring Coloring Sheets Bundle has five coloring packs in one download, covering spring scenes, early spring weather and garden activities. It has 203 pages.
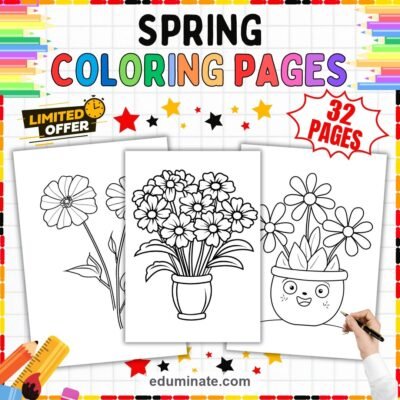
- The Spring Coloring Pages Renewal set has 32 printable pages with blooming flowers, pastel rain boots, rainbow arches and gentle showers.
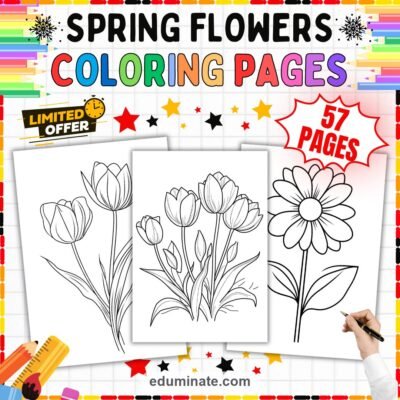
- The Spring Flowers Coloring Pages set has 57 printable pages featuring daffodils, tulips, daisies, cherry blossoms and garden pots.
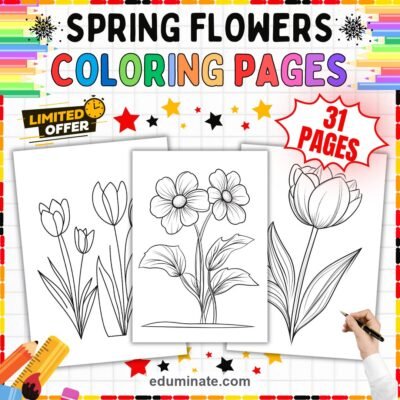
- The Printable Spring Flowers Coloring Pages set has 31 pages that suit simple floral coloring and classroom decor.
- The Flower Coloring Pages Spring Floral set has 150 pages featuring roses, daisies, tulips, sunflowers and spring blossoms.
- The Spring Flower Coloring Pages Floral set has 40 pages featuring garden roses, symmetrical sunflower blossoms and wild meadow cosmos.
A mix works well. Use the larger sets for a whole-class flower garden and a smaller set for a special corner of the board.
How to turn a coloring page into a display piece
- Print on heavier paper if you can. Thicker paper hangs flat and stands up to markers.
- Color the page. Crayons, colored pencils and markers all work. Ask students to color to the edge of the flower so the cutout looks full.
- Cut around the shape. Leave a small border of white around the flower, or cut right on the outline for a clean look.
- Mount it. Glue the flower onto a square of colored paper, which acts like a frame, or attach it directly to a stem.
- Add a label. A small name tag or a short sentence in the corner makes the piece personal.
- Staple up. Place staples at the corners and leave a little room around each piece so the board does not look crowded.
Tip: put the student’s name on the back, not on the front, if you want the board to look tidy from across the room.
Layout tips that make a board look finished
- Group in odd numbers. Three or five flowers in a cluster look more natural than two or four.
- Vary the height. Staple stems at different heights so the flowers do not form a flat line.
- Leave space. A crowded board is hard to read. Let the background show between pieces.
- Repeat a color. If you choose two or three colors for the border, title and mounting squares, the board looks planned.
- Add depth. Fold a leaf in half before you staple it, so it lifts off the board.
Using the board to teach
A spring display is more than decoration. It can be part of a lesson.
- Science: label the parts of a flower, or add a chart of what plants need: water, light and soil.
- Math: count the flowers by color and write the totals on a strip. If the board has 5 red flowers and 3 yellow flowers, that is 8 flowers in all.
- Writing: add a sentence to each flower about what the student sees outside the window.
- Art: compare warm and cool colors across the garden.
For more ways to make a room work harder for learning, see our post on teaching ideas for teachers.
Keeping a spring board fresh
Boards that stay up for months can start to look tired. A few changes keep them fresh.
- Swap in new flowers as students finish new pages.
- Change the title mid-season, such as from “Our Class Garden” to “Our Garden Has Grown.”
- Take down faded pieces and replace them with new ones.
- Check staples every week or so, since pieces loosen over time.
When the board comes down, keep the flowers. Send them home with students, or save the best ones in a folder to reuse next year.
Choosing the right size and mix of pieces
Pieces of different sizes make a board look richer. Print some pages at full size for large focal flowers, and shrink others so they fit as small accents between the big ones.
- Large flowers go near the center, where the eye lands first.
- Medium flowers fill the middle of the board and carry most of the color.
- Small flowers and leaves fill gaps along the edges and the ground line.
If you are short on time, one large flower per student with a green stem is enough. The class display can grow later with extra leaves and garden pots.
A watering can and rain boots for the weather corner
Spring is a season of rain, and a few simple objects can carry that idea. Cut a watering can from blue or gray paper and place it above the flowers, with paper drops falling toward the stems. Add a pair of rain boots from the Spring Coloring Pages Renewal set beside the weather chart.
Use the watering can as a progress marker. Each time the class finishes a reading goal, add a drop. When the drops reach the flowers, hold a short class talk about what the class did well.
A one-day plan to put up the board
If you need the board up by tomorrow, here is a plan that fits around a busy day.
- Morning: hand out the coloring pages as a quiet work block.
- Midday: ask students to cut out their flowers, or cut them yourself if the class is young.
- After school: cover the board with background paper, staple the border and add the title.
- Next morning: let students staple their own flowers into place, with your help on the top rows.
This way the board is ready within a day, and the students still feel they built it.
Spring bulletin board ideas for different grades
Kindergarten and first grade
Keep the pieces large and the words few. A flower with a name on it is plenty. Young students enjoy placing their own flower and finding it again later.
Second and third grade
Add a sentence or a word on each flower. A spelling word garden or a reading garden suits this age well.
Fourth grade and up
Older students can take on the layout. Let a small group sketch the board plan, choose the colors and write the title. A garden of facts about plants works well here.
Frequently asked questions
How many pieces do I need for a bulletin board?
That depends on the size of the board and the size of the pieces. Count one piece per student as a starting point, then add a few extra for the background.
What paper works best for a background?
Plain bulletin board paper in a light color works well. Cover the board edge to edge so old staple holes do not show.
Can younger students make their own pieces?
Yes. Younger students can color the page, and an adult can help with the cutting. Pieces with thick outlines are easier to cut out.
What can I put on a board that has no flowers?
Try a weather board with clouds, rain boots and raindrops, or a word board with labels on paper leaves.